Mixed Media Sketching Part 1: Prep Collage & Painted Backgrounds
Getting started with mixed media sketching can feel intimidating, but prepping your backgrounds first is my secret weapon for loosening up and inviting creativity. Here’s a step-by-step guide to creating playful, layered surfaces for your sketches.
Why Use Collage and Paint?
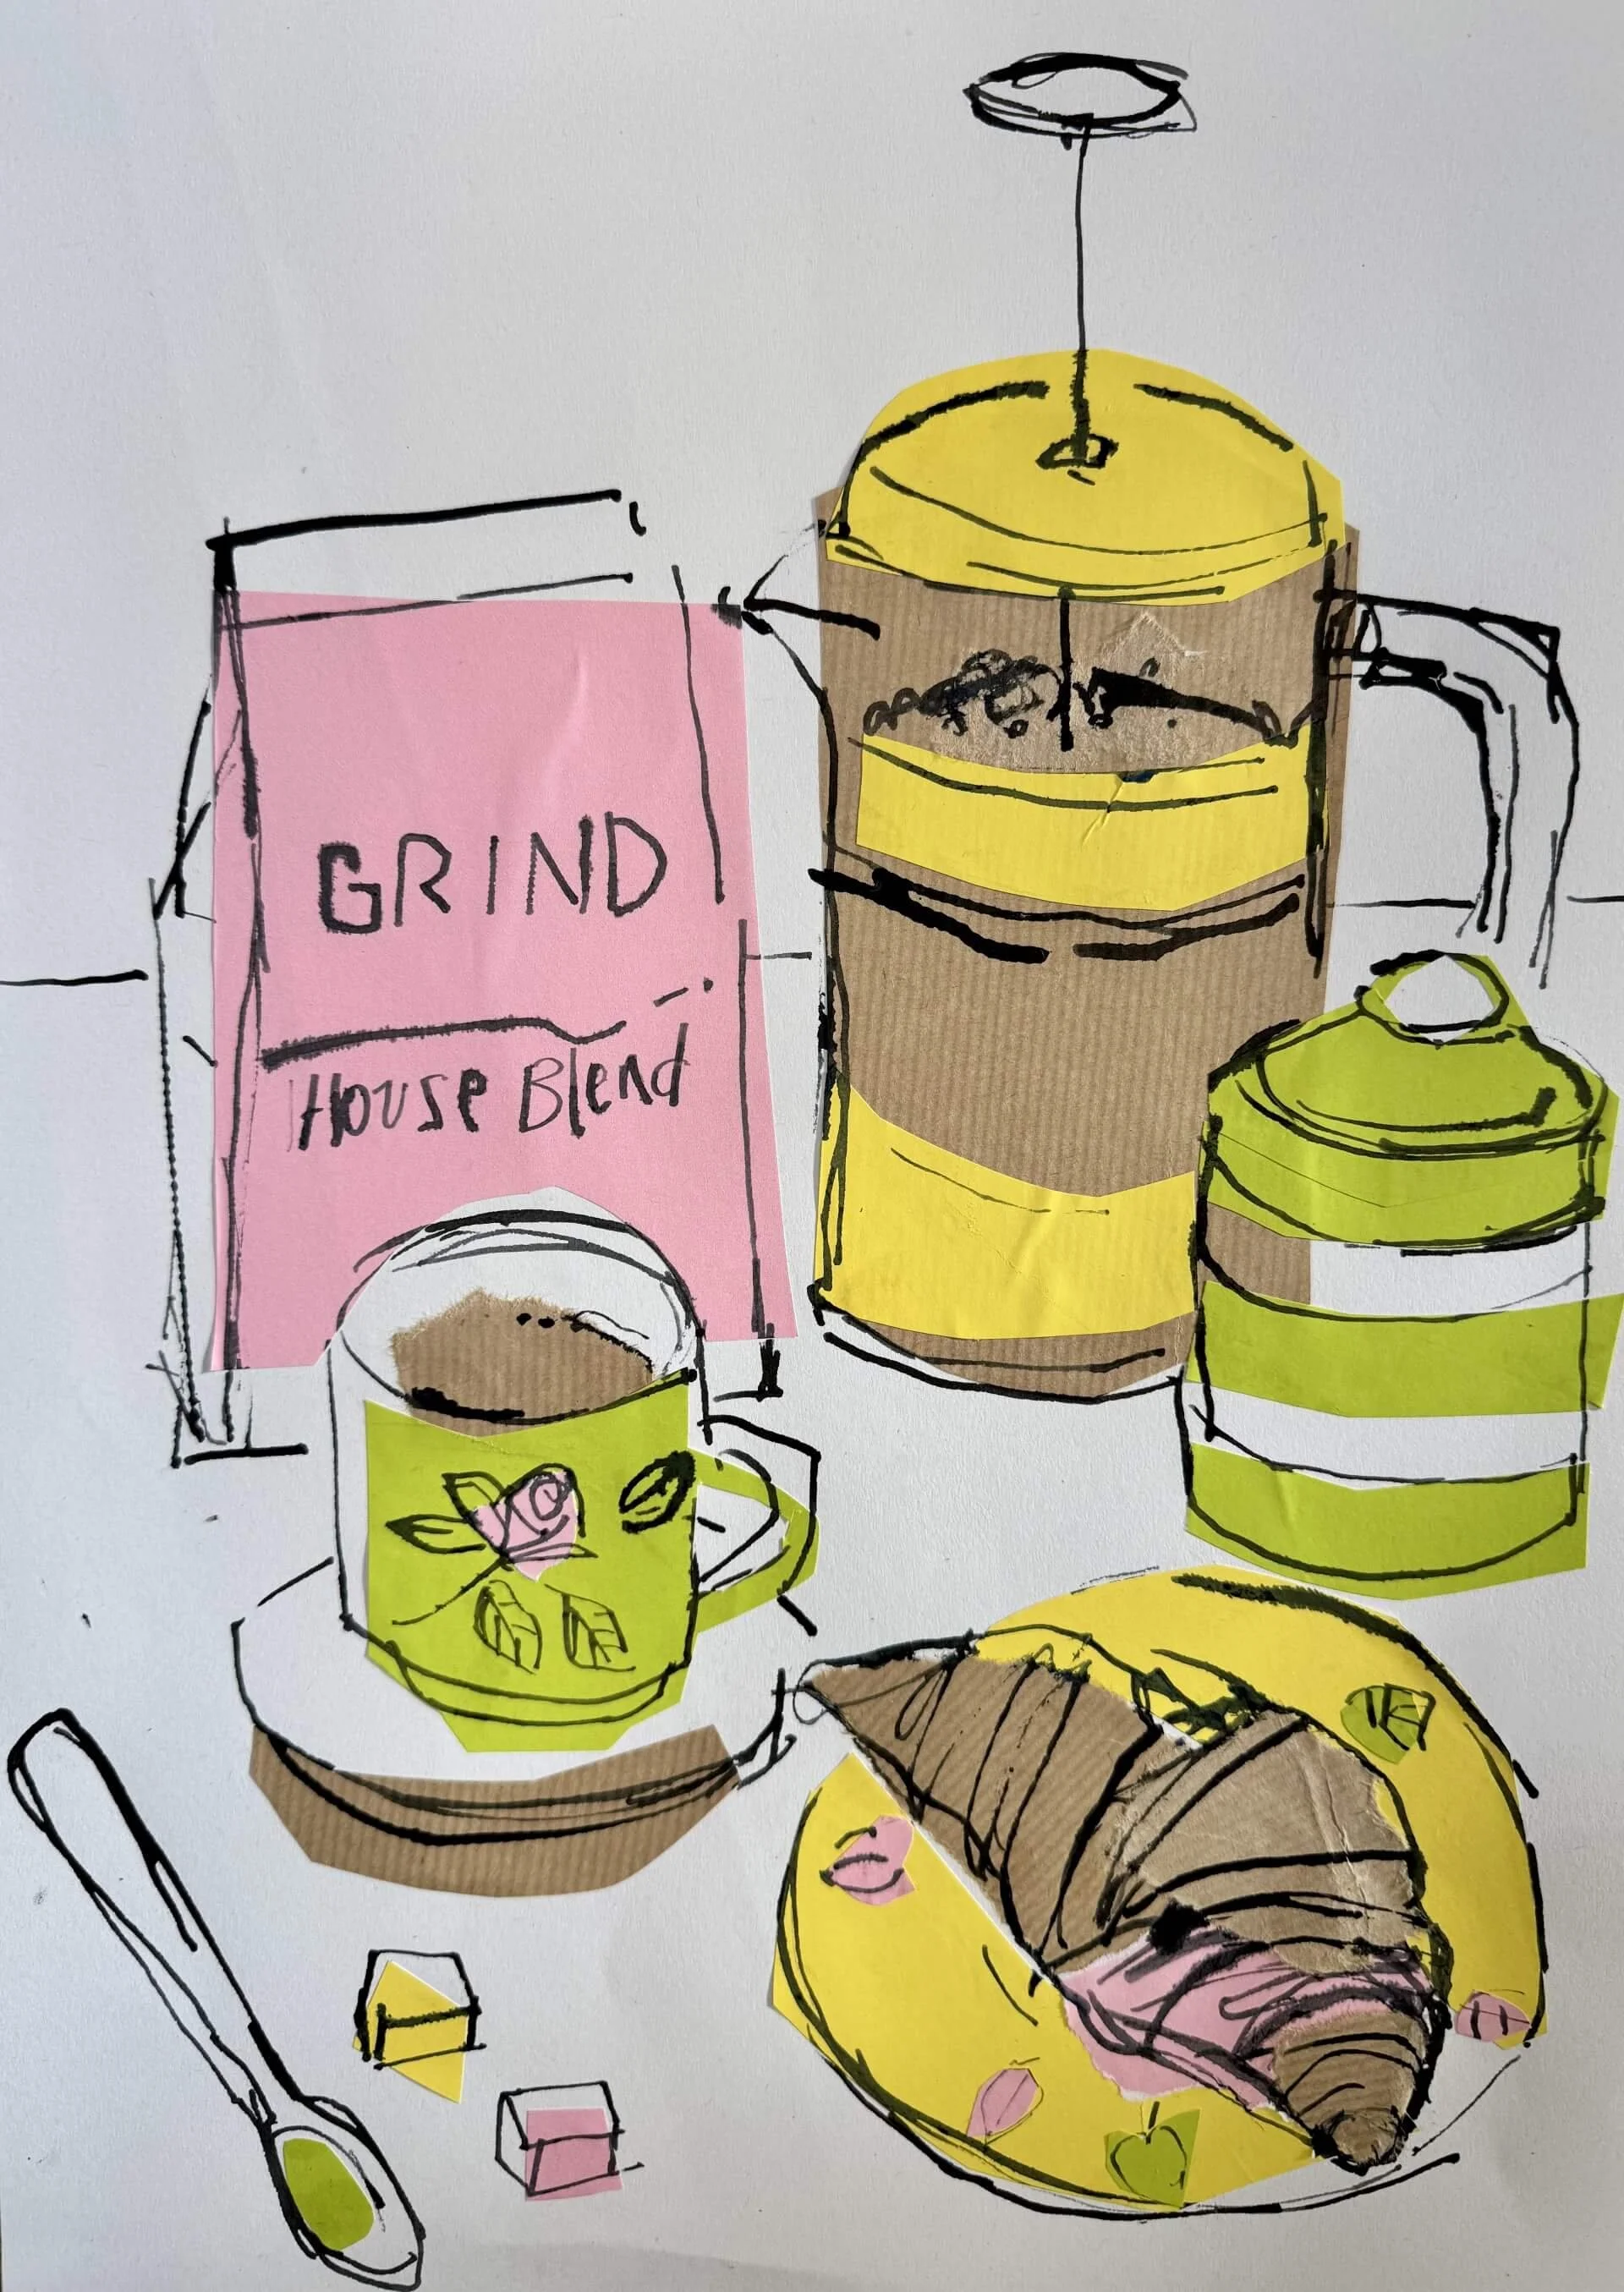
Collage gives texture, depth, and surprises. It allows your sketches to be loose and playful — the background does some of the work for you, encouraging unexpected relationships to emerge in your drawing.
Step-by-Step: Preparing Your Backgrounds


1. Gather Your Papers
Use scraps like sewing patterns, old maps, non-precious book pages, sheet music, or any paper with character. Torn edges and faded text work beautifully.
2. Paste Them Down
Glue papers in a relaxed, free way — overlap, tilt, and let edges peek through. The unexpected shapes and textures add visual interest later.
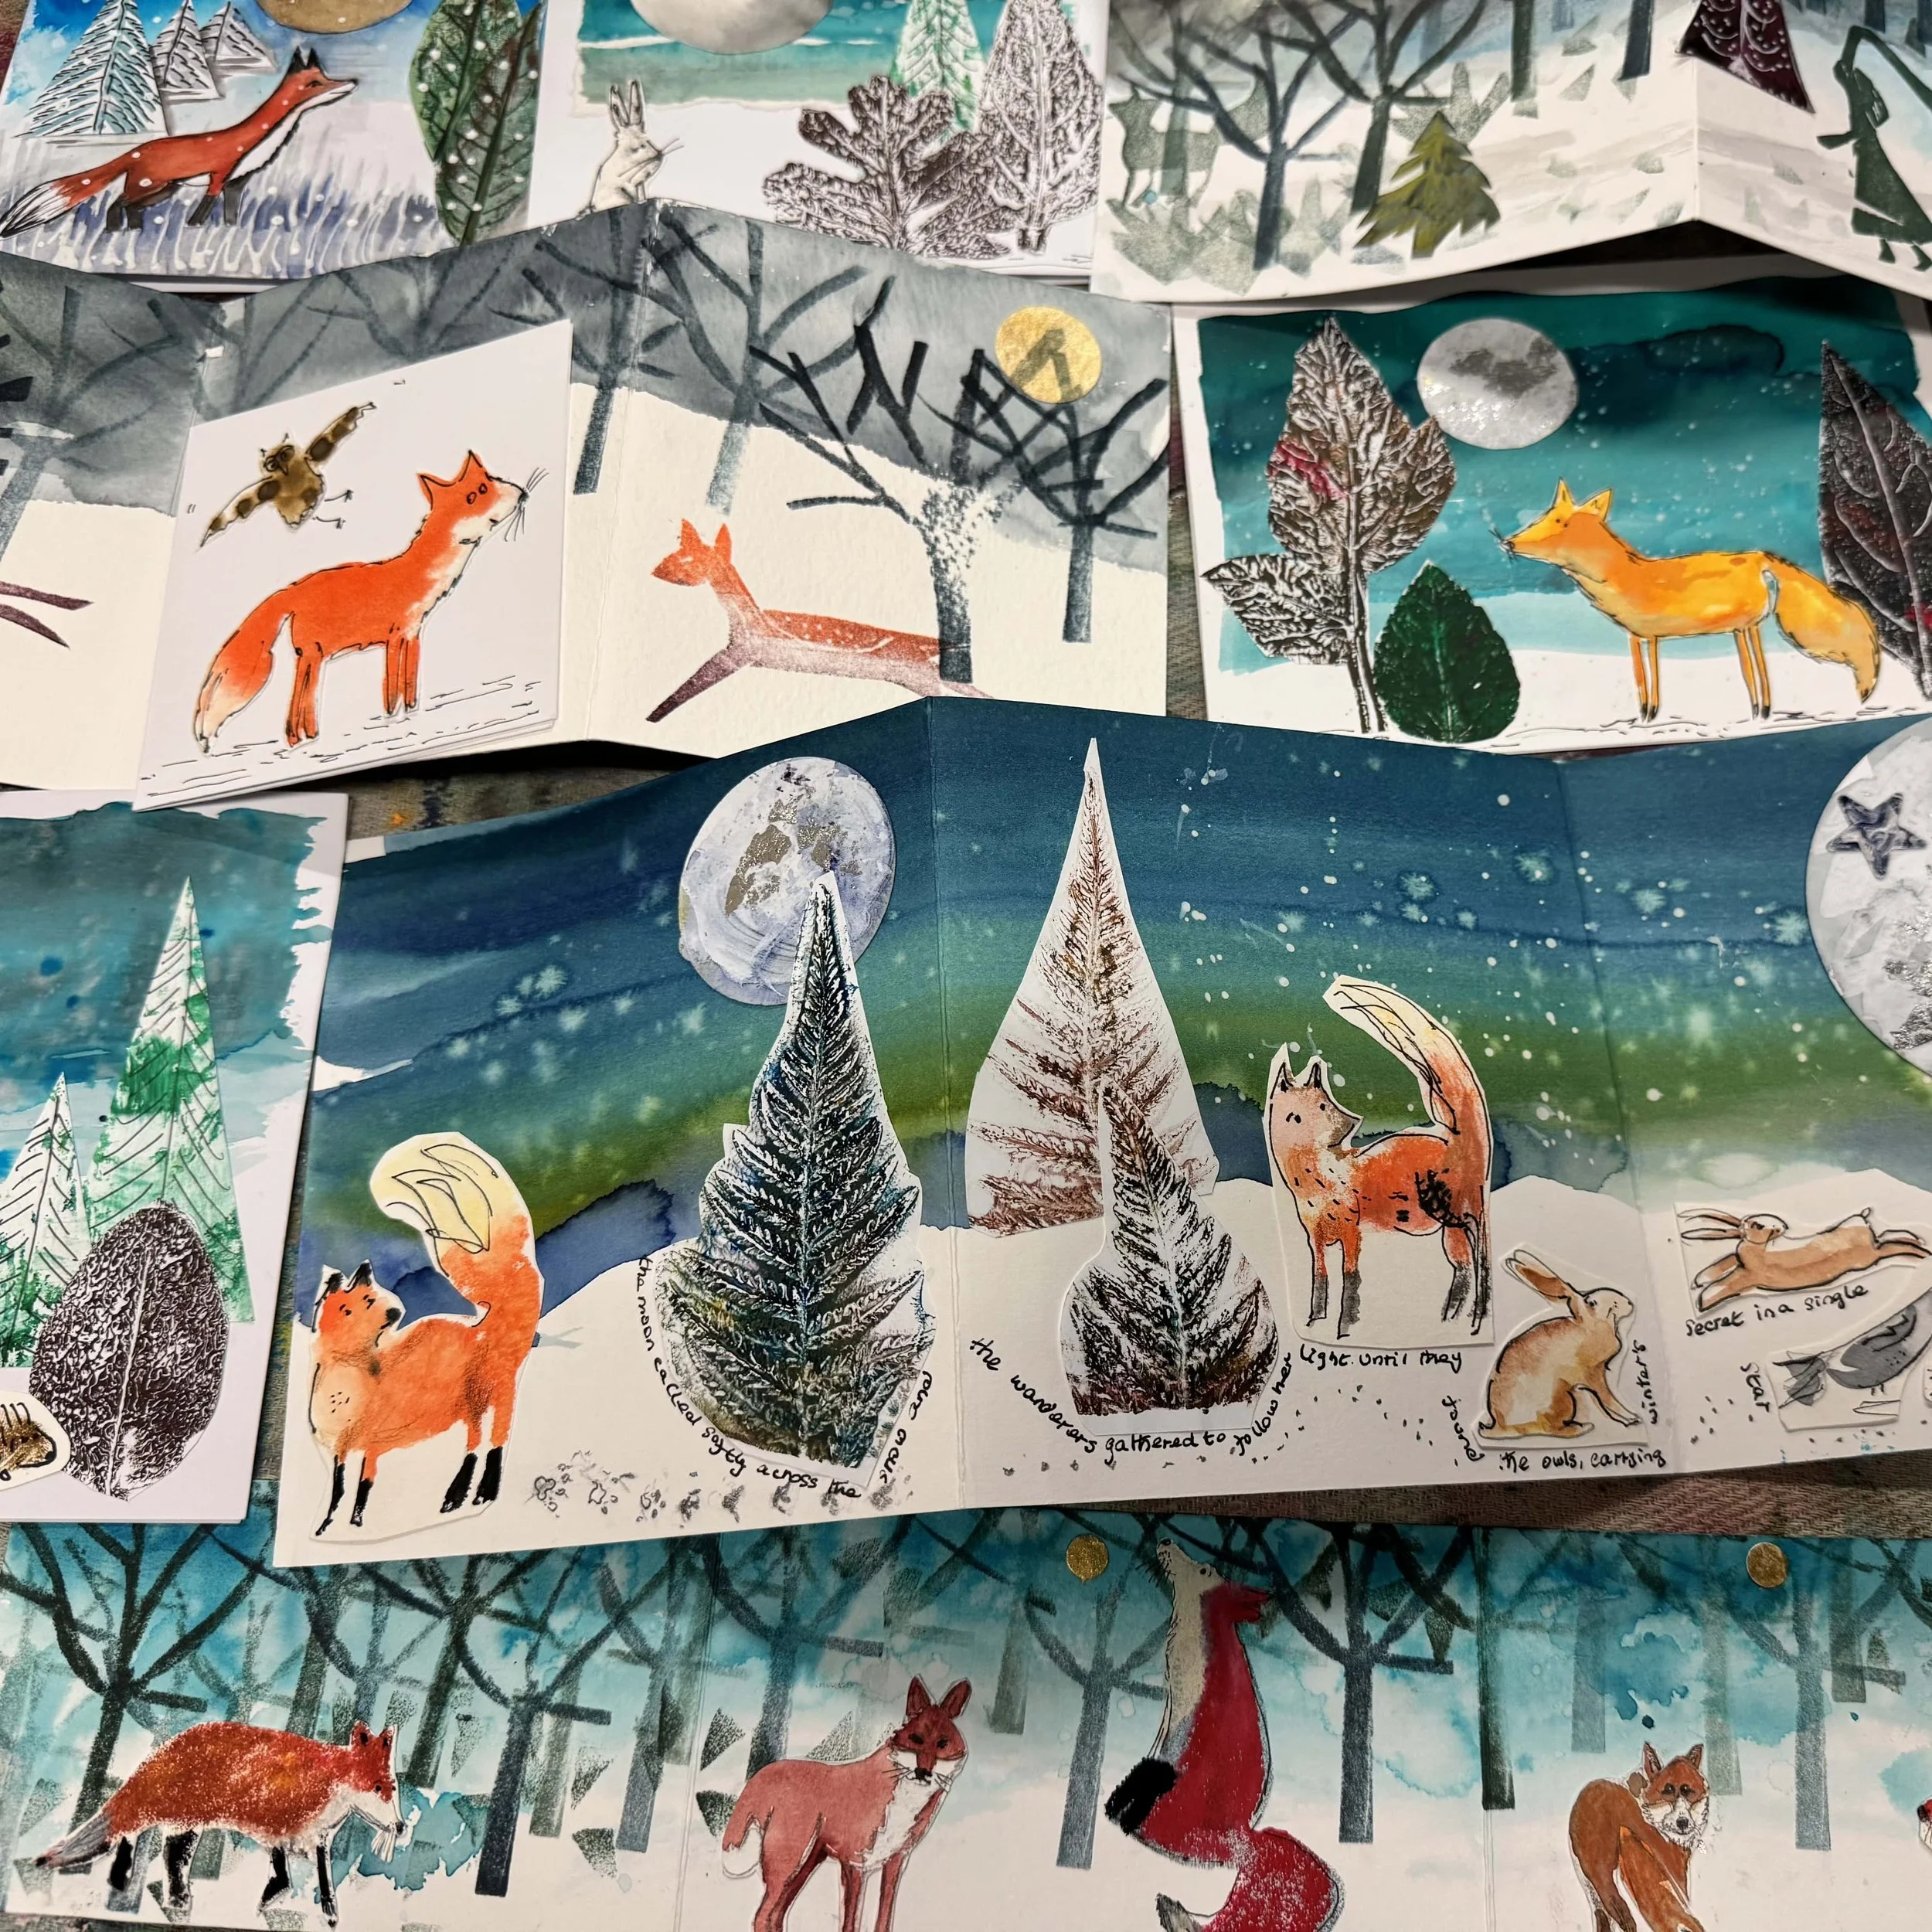
3. Layer with Diluted Acrylics
Apply washes of acrylic paint — sometimes lightly, sometimes dragging colour across the page. Thin layers create a translucent veil while keeping texture visible.
4. Scratch and Mark
While paint is damp or semi-dry, scratch into the surface. Let textures emerge and papers underneath peek through.
5. Add Sepia Drawing Ink (Optional)
Drip, splash, or let ink seep into cracks. This adds warmth, depth, and character to your background.
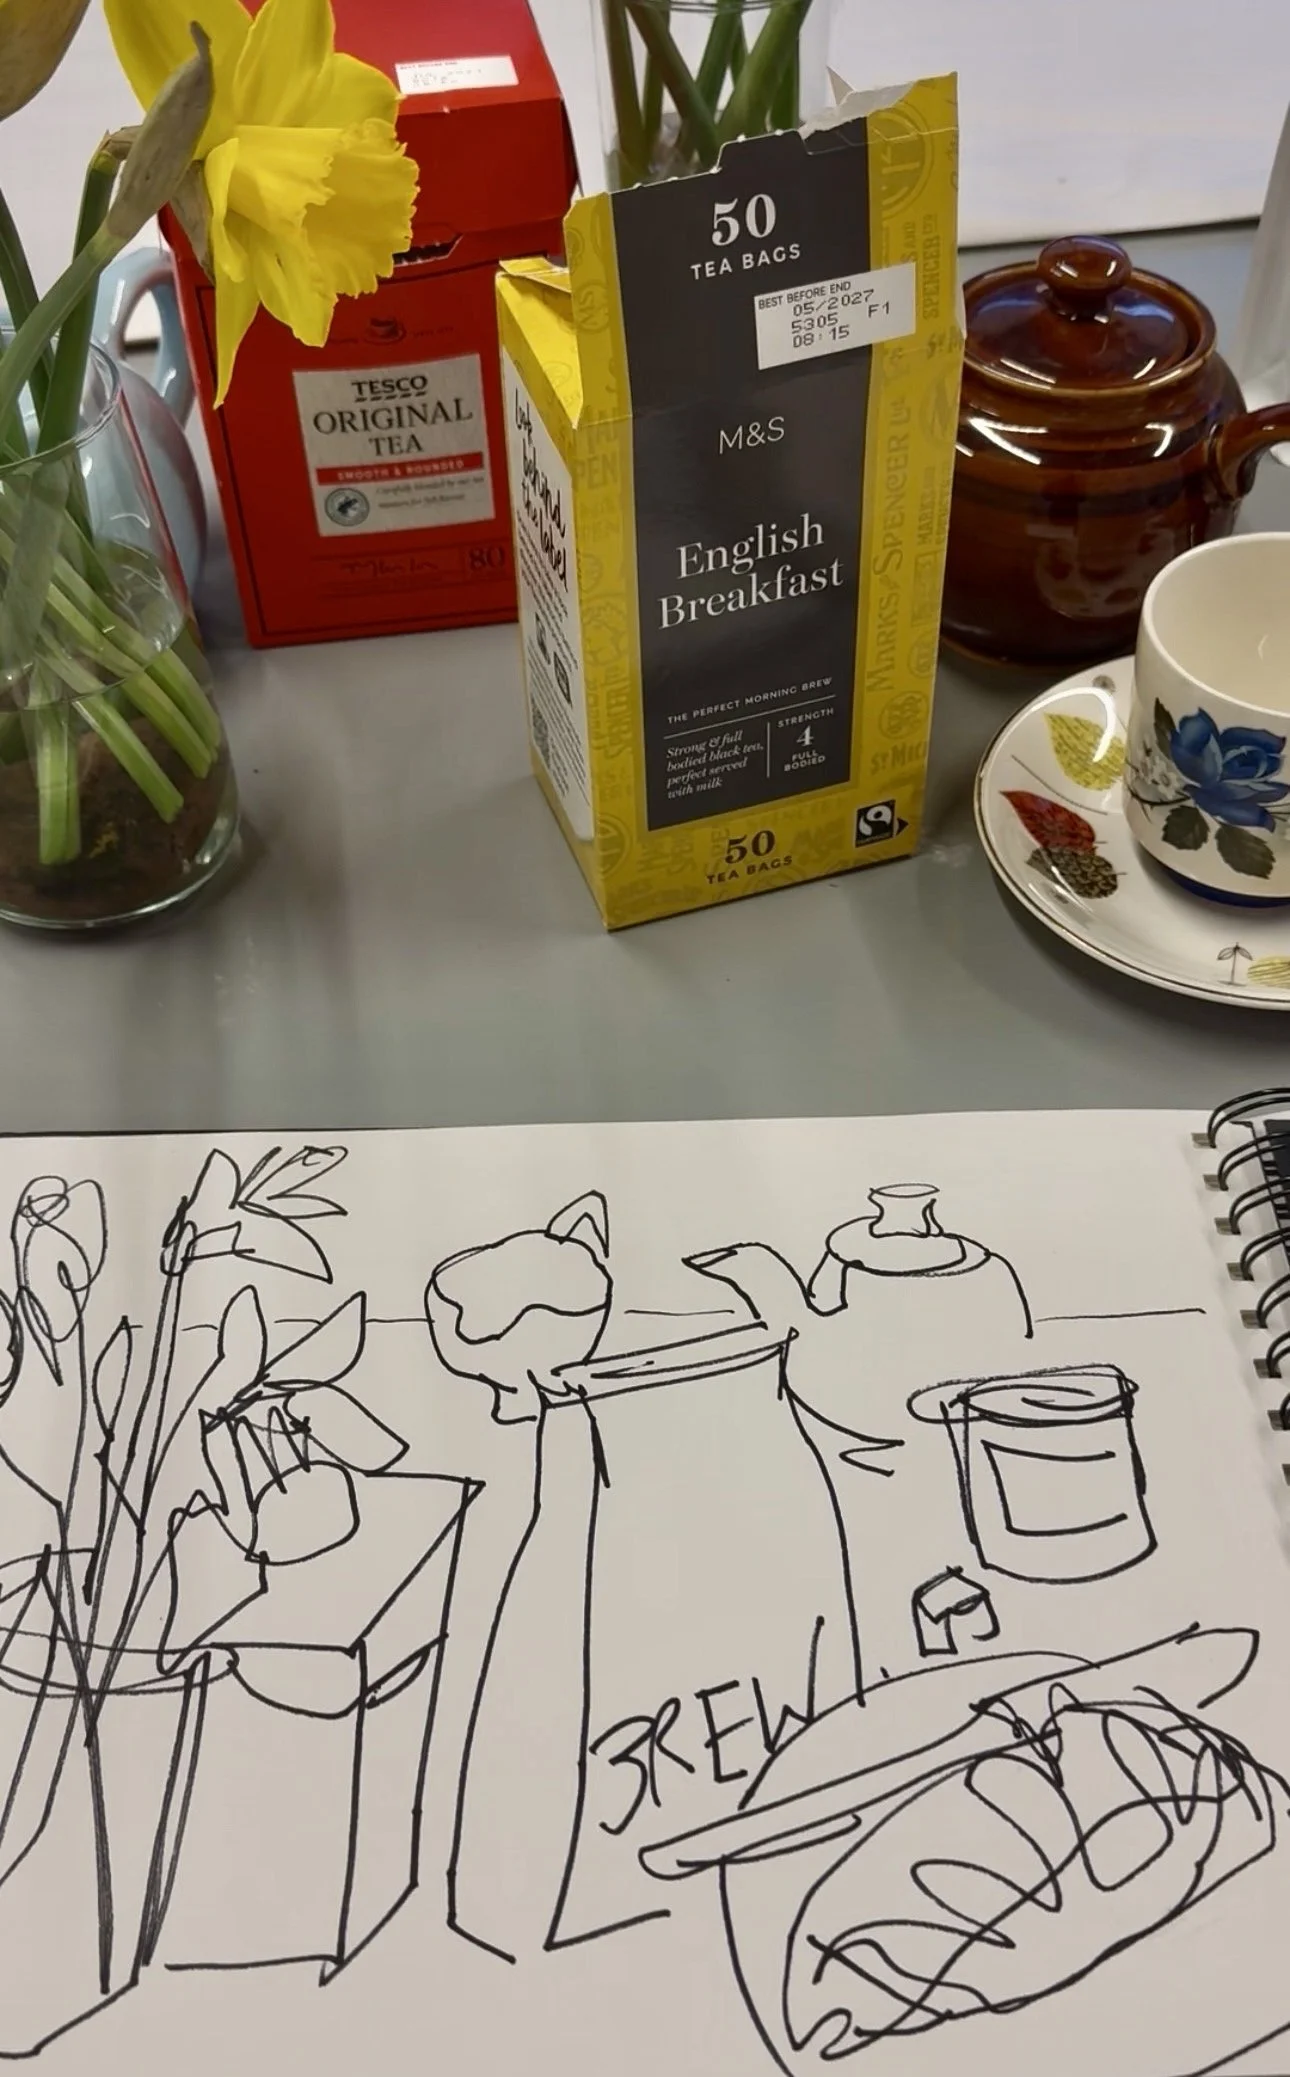
Take Your Backgrounds Out on Location
Once dry, your prepared pages are ready for loose architectural or floral sketches. Collage and paint guide your marks and make drawing more spontaneous.