

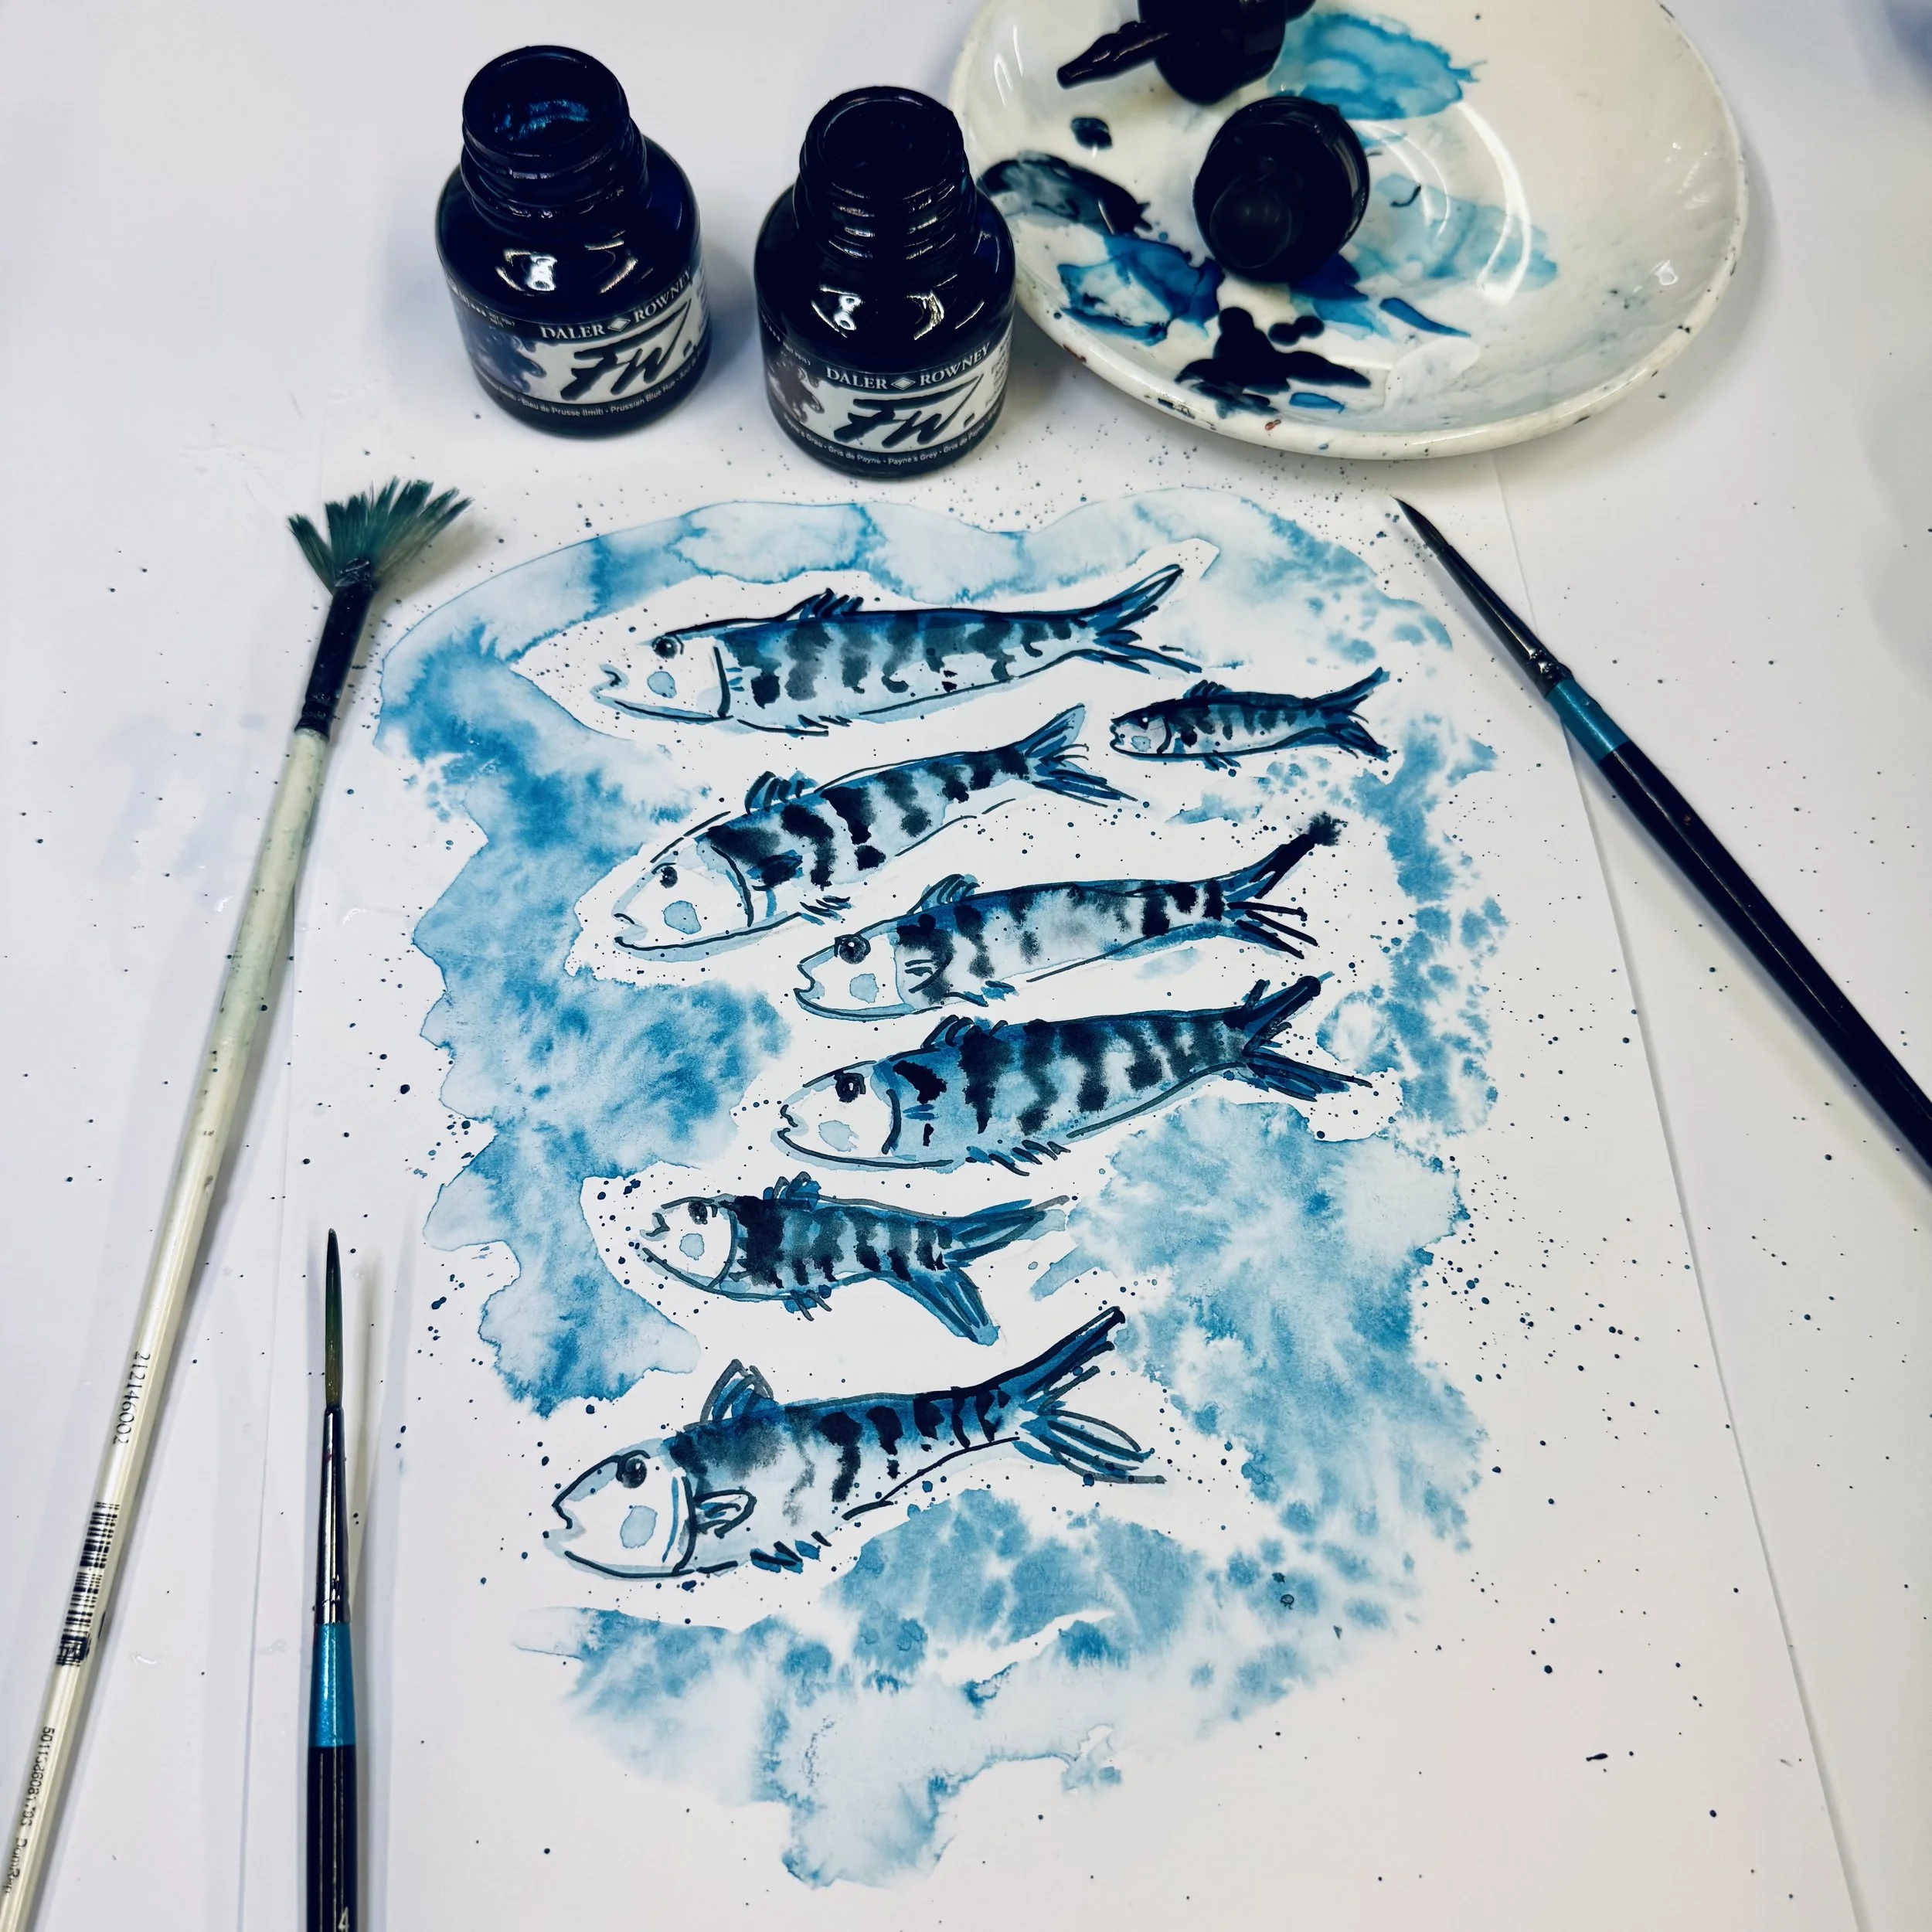
The finished shoal, with my two favourite FW inks: Payne's Grey and Prussian Blue.
What happens when you let ink loose in water? Magic, movement and a shoal of happy fish!
Why I love FW Acrylic Inks [NEW H2]
Using two of my favourite colours, Payne’s Grey and Prussian Blue, I’m creating a shoal of quirky fish in an inky, bubbling sea. FW Acrylic Inks by Daler-Rowney are beautifully pigmented, delivering intense colour straight from the pot or gorgeous soft washes and delicate blooms when diluted with water. The real fun is watching the pigment travel and create wonderfully unpredictable effects!
Step-by-step [H2, Jenny's heading]
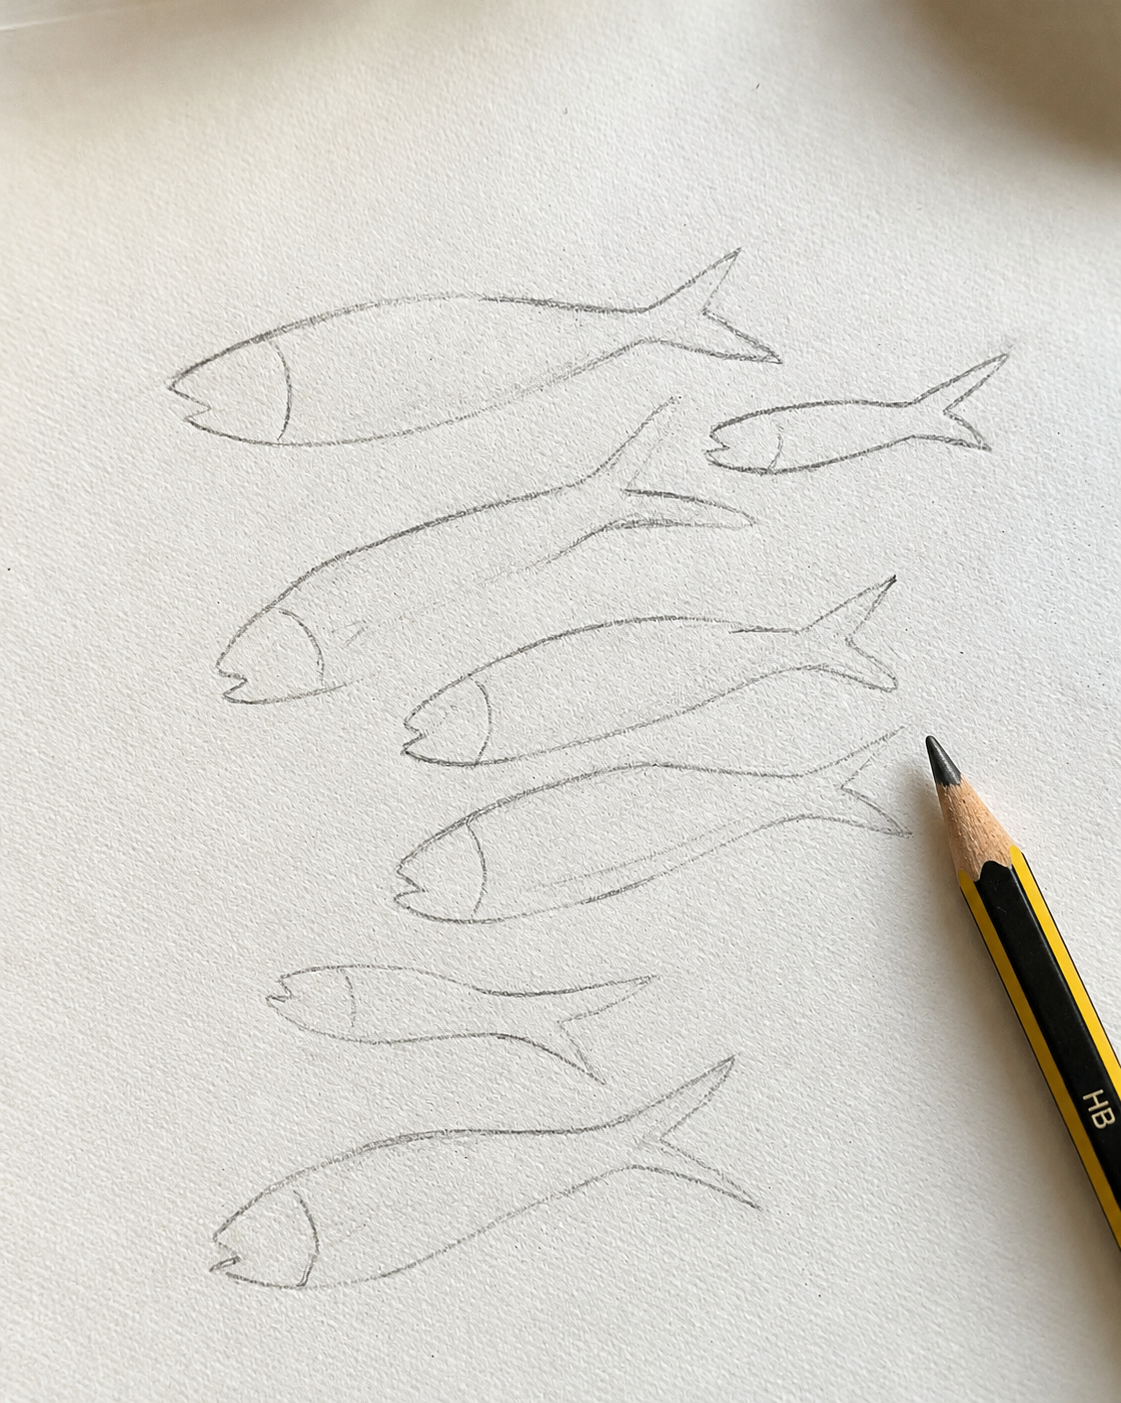
Step 1: sketch a shoal of simple fish shapes.
1. Draw your fish
Lightly sketch a shoal of elongated oval fish with little triangular tails on 220 gsm cartridge paper or watercolour paper.
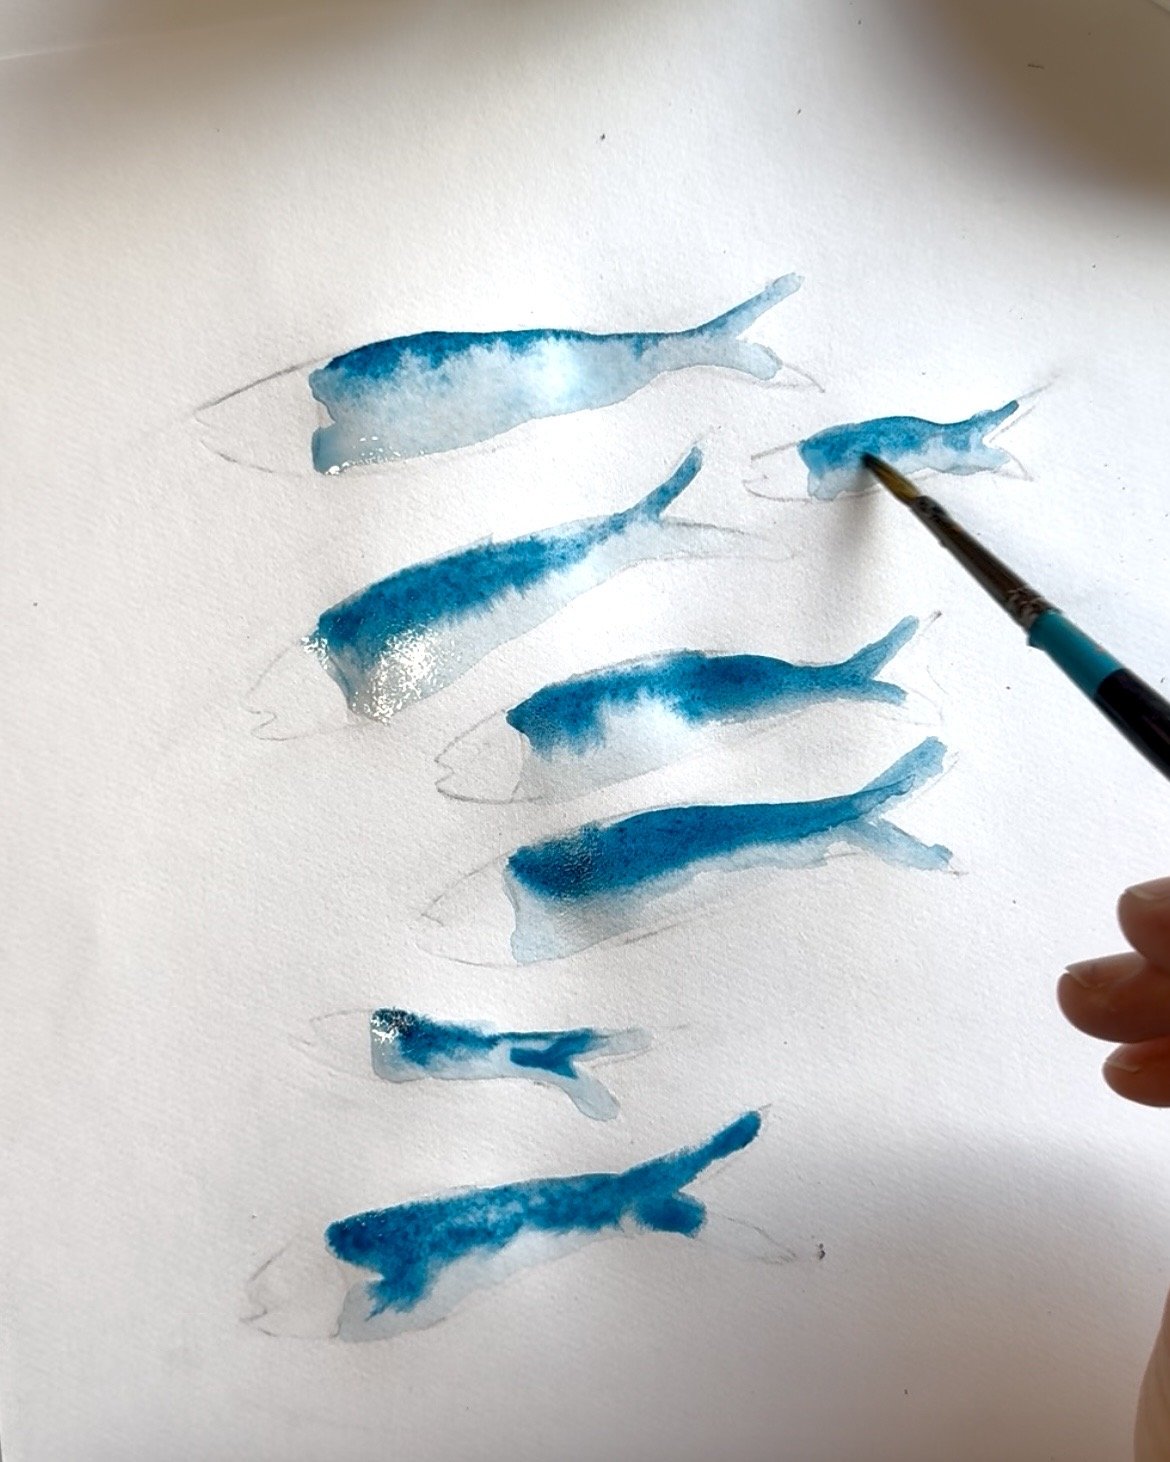
Step 2: a pale wash, with darker blue dropped in along the top.
2. Paint the fish
Dilute Prussian Blue with water and paint each fish with a pale wash. While wet, add a darker touch of blue along the top and let it spread to create form.
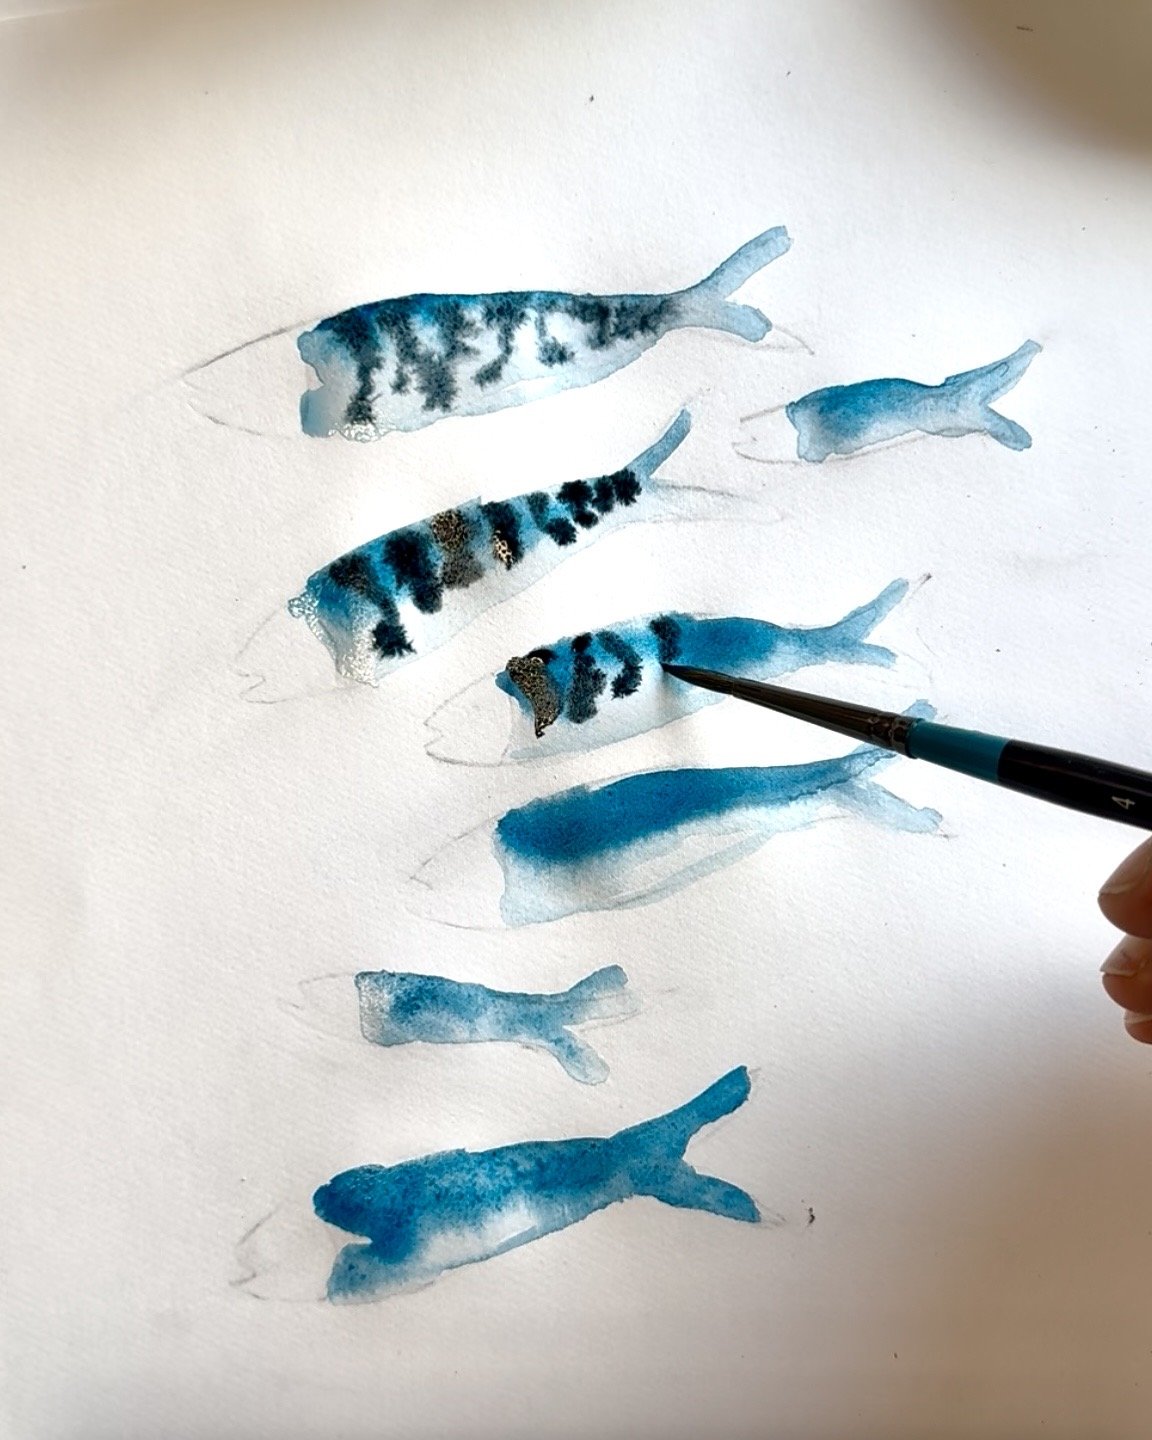
Step 3: drops of Payne's Grey spread into soft stripes.
3. Add stripes
Using a small pointed brush, touch tiny drops of Payne’s Grey into the wet wash. Watch the ink spread into soft, mackerel-like stripes. Leave to dry completely.
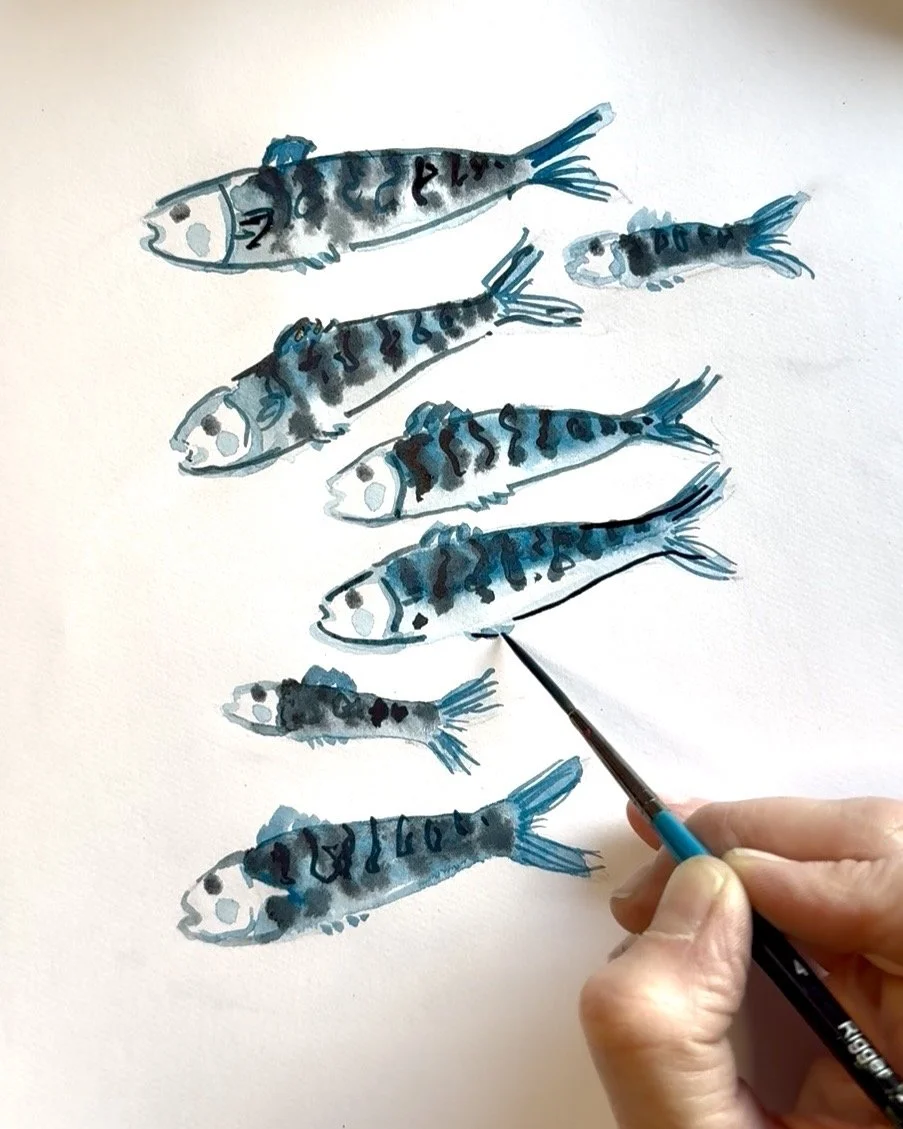
Step 4: fins, tails and eyes bring them to life.
4. Add character
With a fine round brush or rigger brush, add fins, outlines, wispy tails, eyes and details to bring your fish to life.
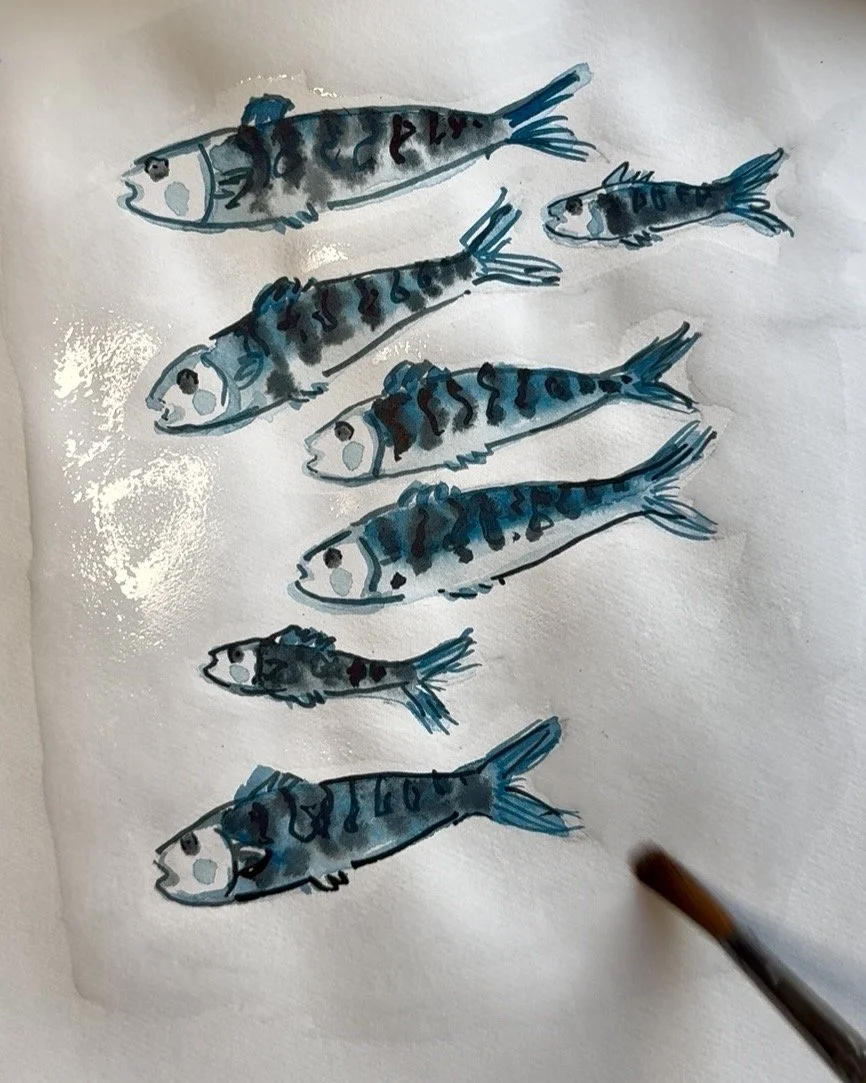
Step 5: wet the background, keeping the fish dry.
5. Wet the background
Using a large, soft brush, wash the background with clean water, keeping it glossy and wet. Avoid wetting the fish.
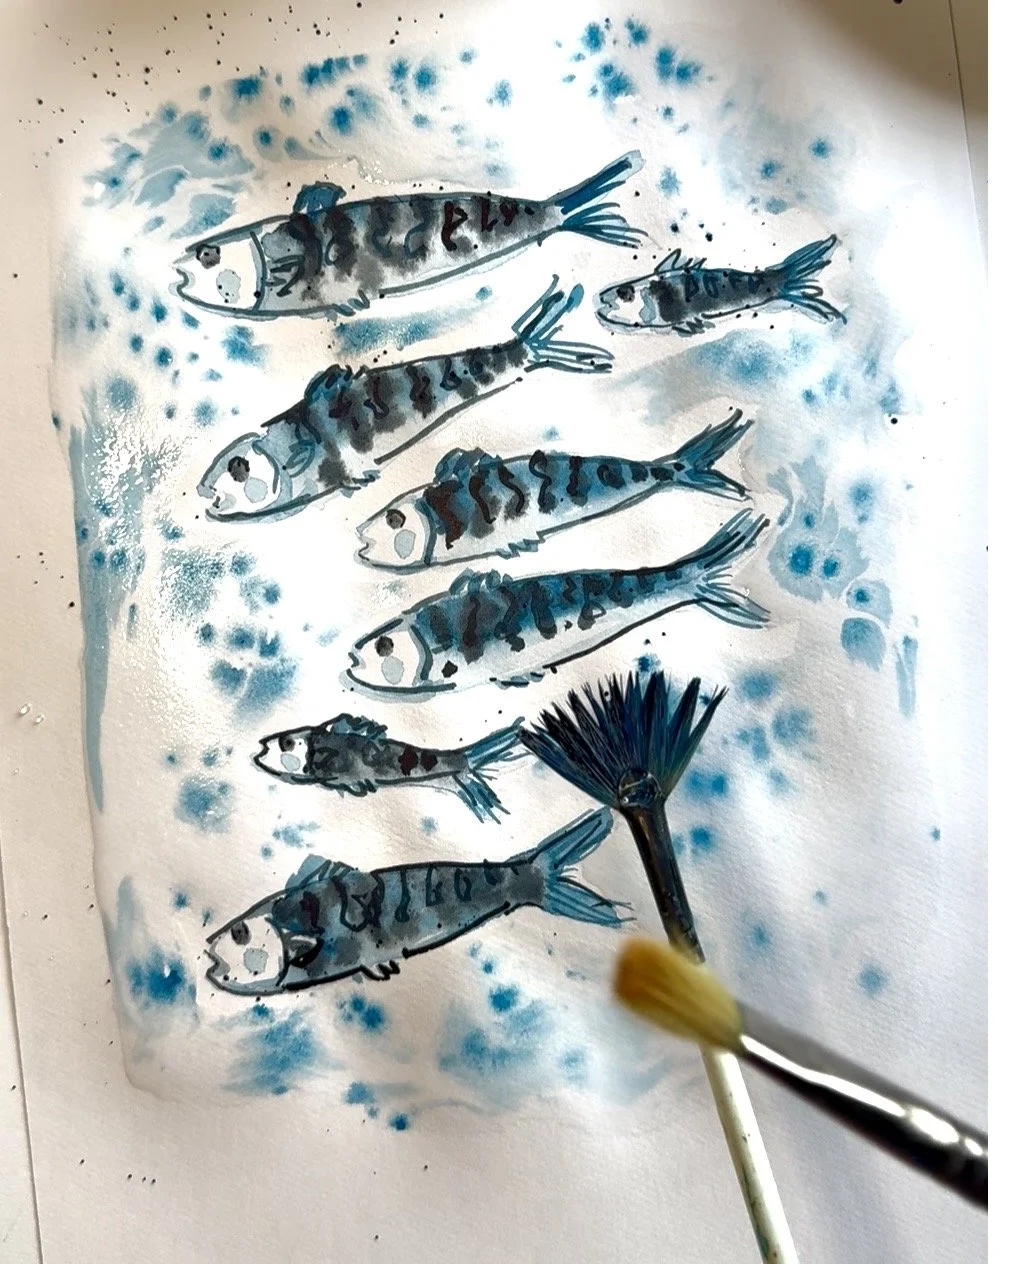
Step 6: make a splash and watch the ink disperse.
6. Make a splash!
Load a hog-hair fan brush with Prussian Blue – go sparingly to start (or use a toothbrush to spritz) and tap it with another brush to flick droplets into the wet background. Watch the ink disperse into bubbles, movement and wonderful inky textures!
Watch the inks in action [NEW H2]
Want to see the inks in action? Click the link below to watch my painting come to life on Instagram.
